Key Takeaway
Replacing a shower valve behind the wall starts with one question: does the whole valve body need replacing, or just the cartridge? If the body is sound, a cartridge swap fixes most drips and stiff handles from the front. If it is not, the valve is reached from behind the wall where possible, or through a careful opening in the tile, cut out, replaced with a pressure-balancing or thermostatic valve, pressure-tested and set so the water cannot run hotter than 120°F. A straightforward swap takes 3 to 4 hours. OC's Plumbing & Septic gives a written quote before work starts. Call (863) 393-6473.
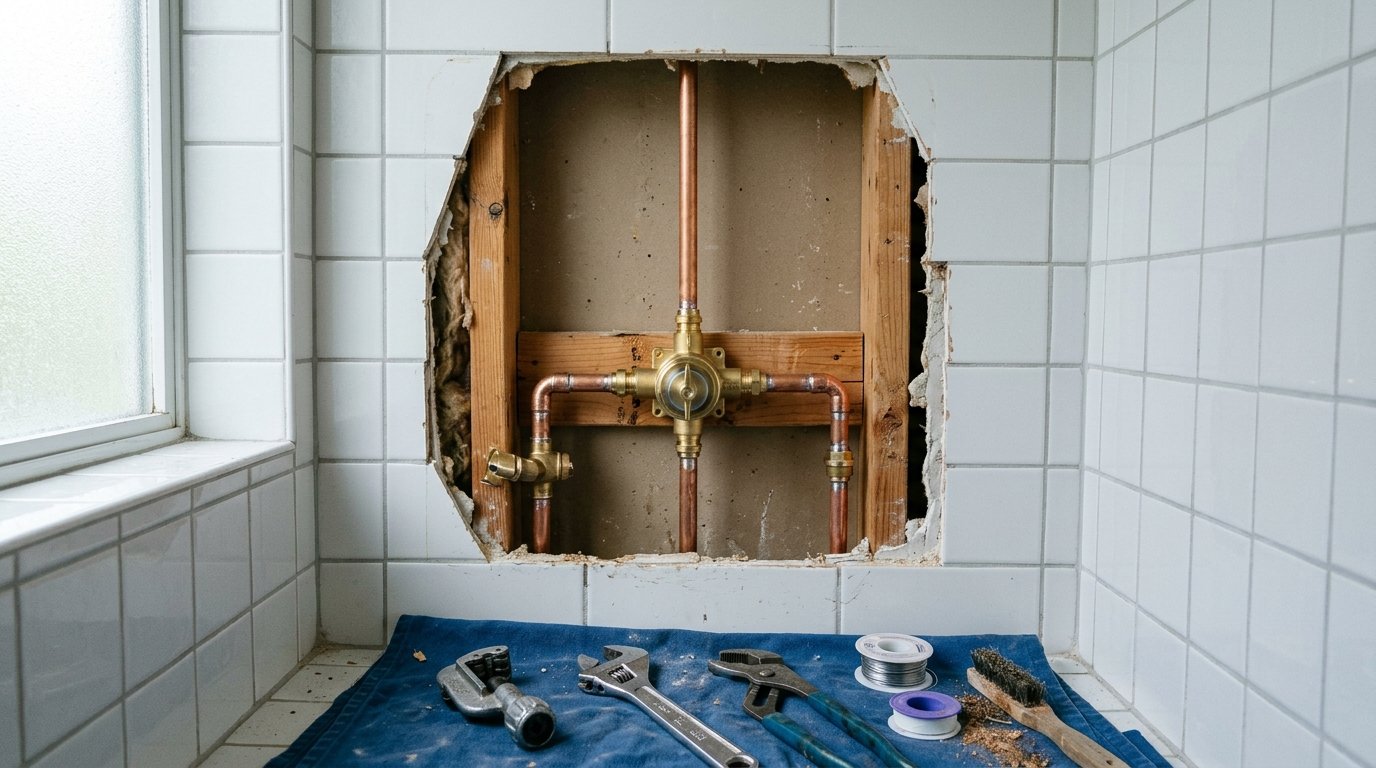
Replacing a shower valve behind the wall means reaching the valve body, cutting out the old one, fitting a new pressure-balancing or thermostatic valve to your pipes, pressure-testing the connections and setting the anti-scald limit. Before any of that, a licensed plumber checks whether you need the whole valve at all, because a worn cartridge can often be swapped from the front without opening the wall.
Here is what happens at each stage, how long it takes and what changes the price, so you know what you are agreeing to before the work starts.
First Question: Cartridge or Whole Valve?
Every single-handle shower valve has two parts. The valve body is the brass fitting inside the wall that the pipes connect to. The cartridge slides into it from the front and does the actual mixing and shutting off.
Most problems start in the cartridge. A shower that drips after it is turned off, a handle that is stiff or spins without doing much, and slow temperature control are usually cartridge wear. In Lakeland's hard water, minerals build up on the cartridge and its seals, and they wear faster.
A cartridge swap happens from the front: the trim comes off, the old cartridge comes out, a matching new one goes in. No wall is opened, and it costs much less.
A full valve replacement is needed when:
- the valve body itself is cracked, corroded or leaking inside the wall
- parts for an older valve are no longer made
- you have an old two-handle or three-handle valve and want a modern single-handle valve
- you are remodelling and changing the trim or adding a thermostatic system
- the water still swings hot when a toilet flushes after a new cartridge
If you are not sure which one you need, that is the first thing we check. Our earlier post on shower valve problems covers the symptoms in more detail.
How the Valve Gets Reached
This step decides how much of the job is plumbing and how much is wall repair.
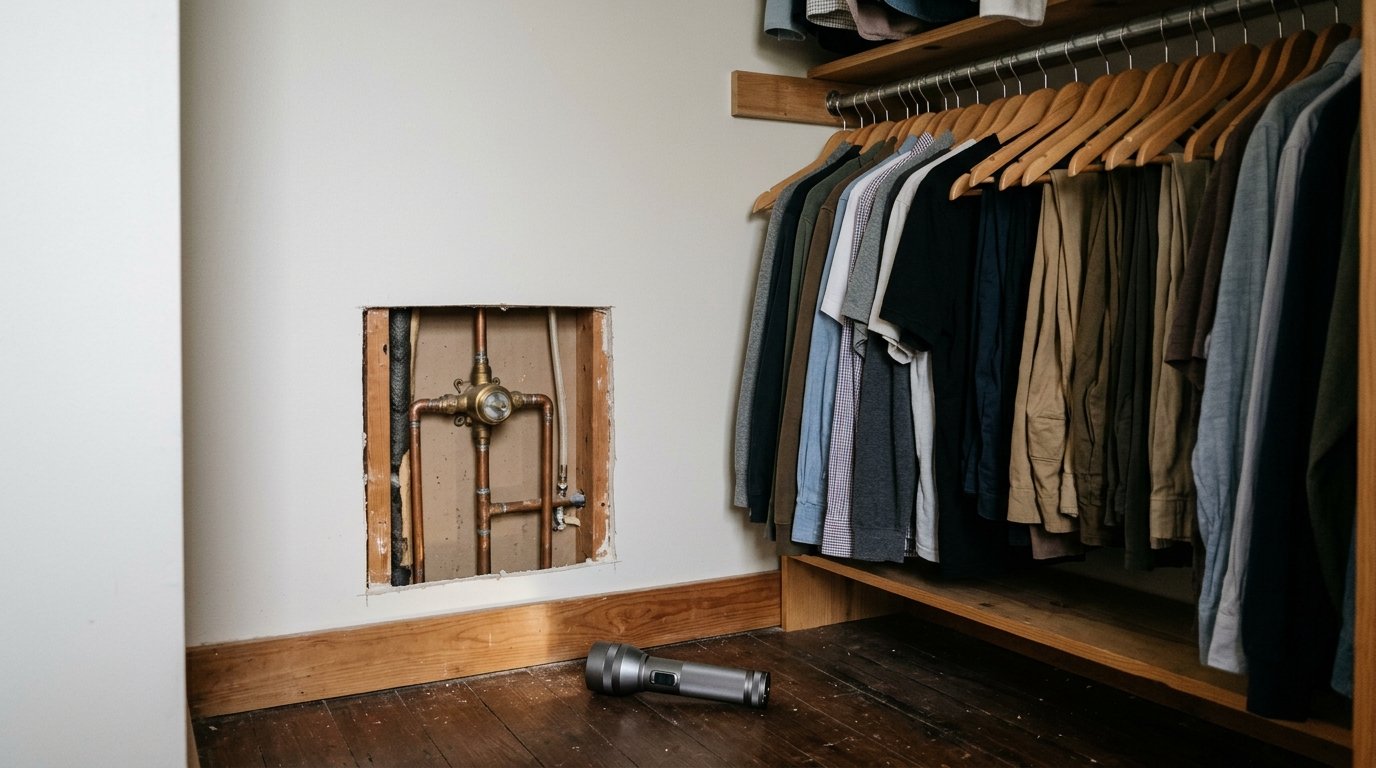
From behind the shower. If a closet, bedroom or hallway shares the wall with the shower, the valve can often be reached from that side. A neat opening is cut in the drywall, the work is done from there, and the patch is plain drywall, not tile. It is the cheapest and cleanest way in.
Through an existing access panel. Some homes already have a small panel behind the shower for exactly this. If yours does, the job is quicker.
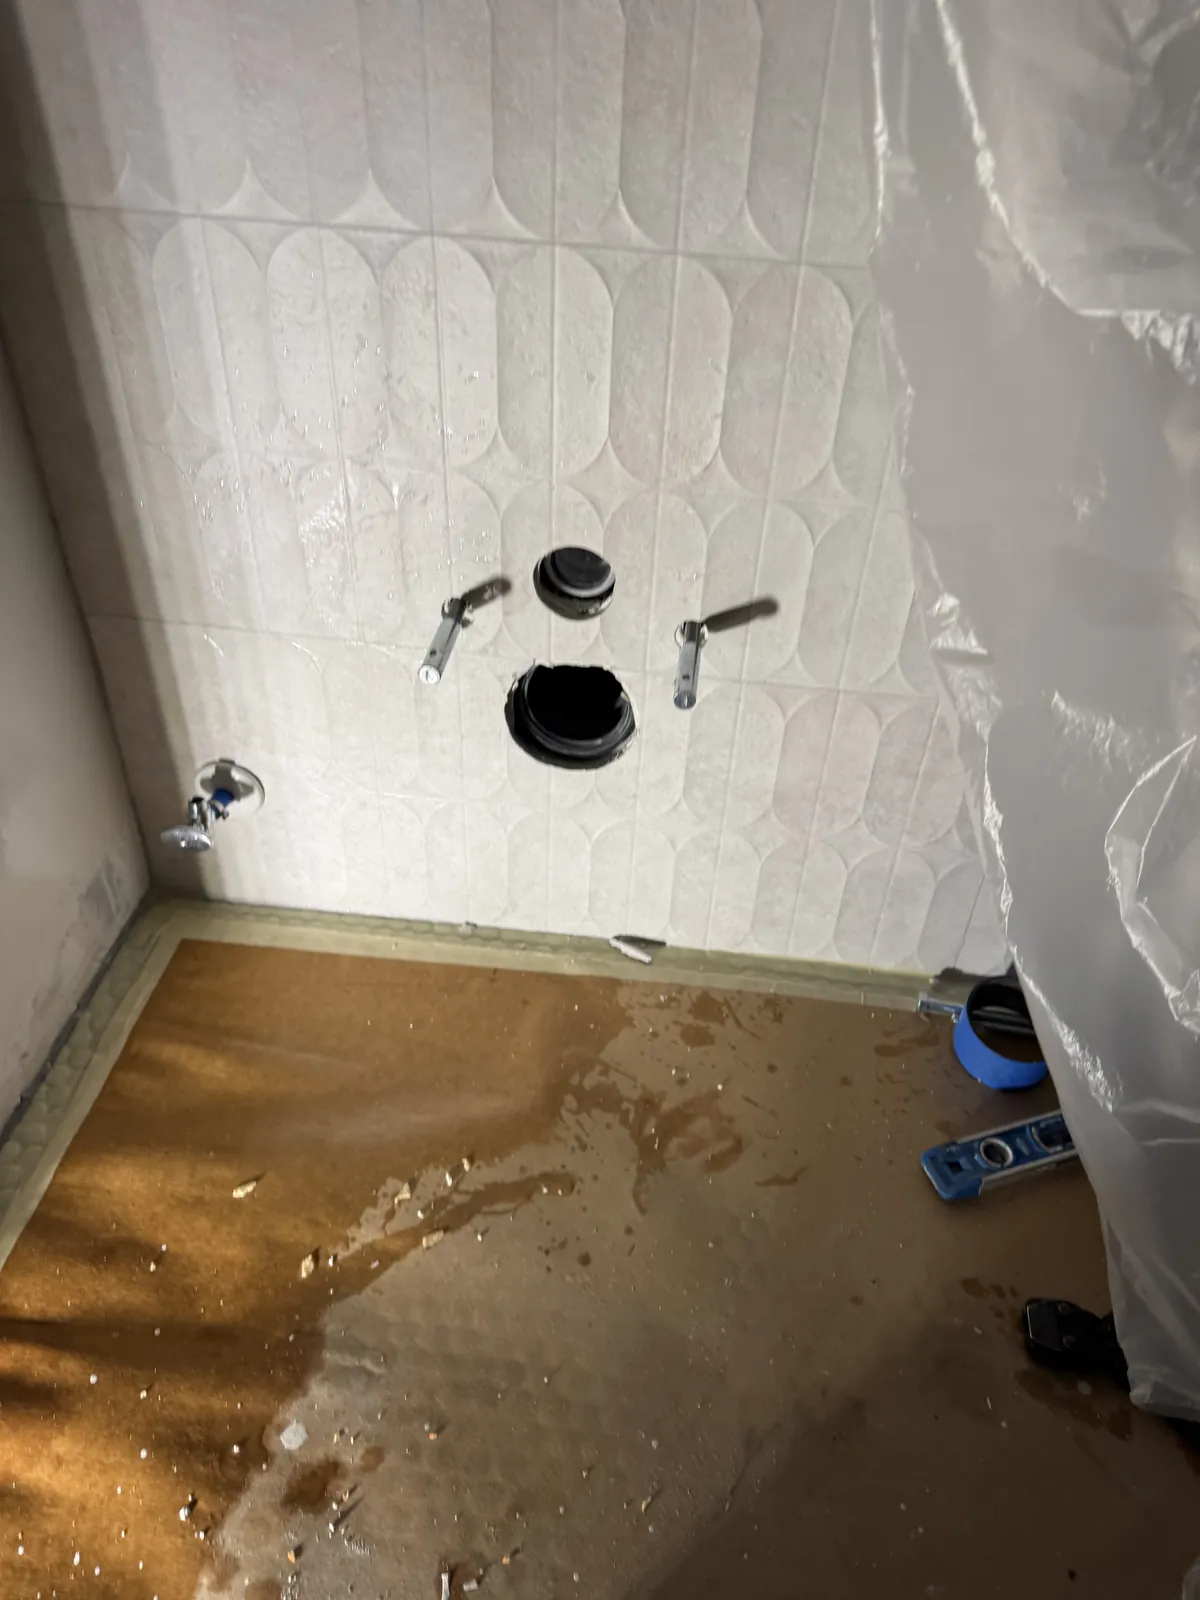
Through the tile. When there is no way in from behind, a careful opening is cut around the valve on the shower side. The new valve's trim, or a larger remodel cover plate, can cover the opening so the tile does not have to be replaced. If a wider area of tile has to come off, tile repair becomes part of the job.
What Happens on the Day
Once the valve is reachable, the work follows the same steps in most Lakeland homes:
- 1Water off. The main supply is shut off and the lines are drained so the valve can be cut out dry.
- 2Old valve out. The old valve body is cut free from the hot and cold supply lines and the pipe up to the shower head.
- 3New valve fitted. The new valve is set at the right depth for the trim and connected to your existing copper or PEX piping. If the old pipe near the valve is corroded, that short section is replaced at the same time.
- 4Pressure test. With the wall still open, the valve and every new joint are put under pressure and checked for leaks. This is the step that matters most, because a leak inside a closed wall can go unnoticed for months.
- 5Anti-scald limit set. The valve's limit stop is adjusted so the hottest setting stays within the code limit.
- 6Trim on and tested. The handle and trim go on, and the shower is run through its full range of temperatures.
The Anti-Scald Limit and Florida Code
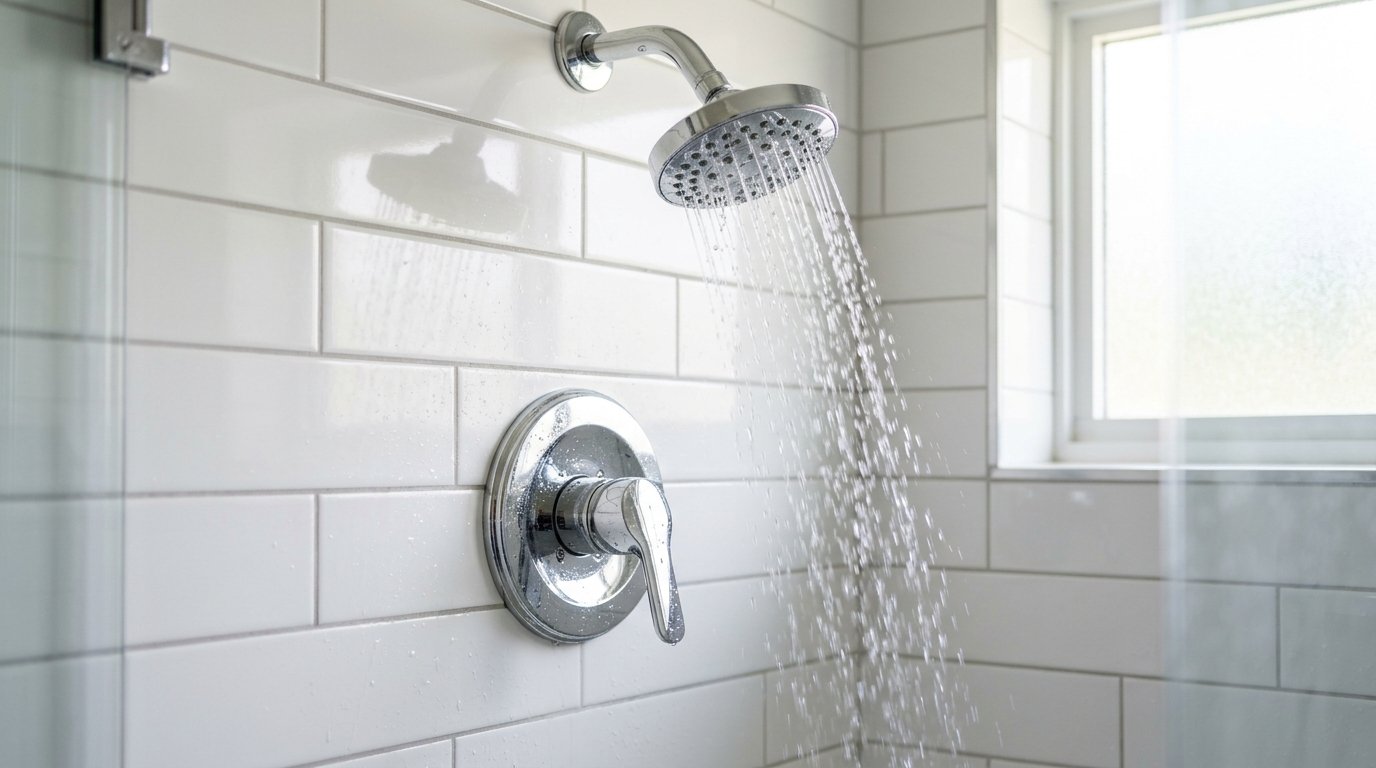
Florida's plumbing code sets a hard limit on how hot a shower can get. The Florida Building Code, Plumbing 2023, Section 412.3 requires shower and tub-shower valves to have a way to limit the maximum setting, adjusted on site so the water does not go above 120°F.
Both main valve types meet that rule when set correctly:
- Pressure-balancing valves react to a drop in hot or cold pressure, such as a toilet flushing, and keep the mix steady so the shower does not spike hot or cold.
- Thermostatic valves let you set an exact temperature and hold it, usually with a separate control for volume. They cost more and suit remodels and multi-head showers.
The limit stop is set at install, and it is worth checking again if your water heater setting changes.
How Long It Takes
A straightforward valve swap takes 3 to 4 hours. Complex thermostatic systems, or jobs where the valve has to be reached through tile, can take a full day, or two visits so the work can be pressure-tested before the wall is closed.
A cartridge-only replacement is much shorter, often under an hour once the right part is on hand.
You will be without water while the main is off, so plan the work for a day when the household can manage that for a few hours.
What Changes the Price
The written quote covers the valve body, cartridge, trim and labor. These are the things that move it:
- Cartridge or full valve. A cartridge swap is the lower-cost option, and we will always say if it will do the job.
- Valve type. A thermostatic valve costs more than a pressure-balancing valve.
- Access. Working from a closet wall behind the shower is quicker than going through tile.
- Pipe material and condition. Connecting to sound copper or PEX is routine; replacing corroded pipe near the valve adds time.
- Trim and finish. The handle and plate you choose, and whether a remodel cover plate is needed.
- Wall or tile repair. Drywall patching or tile work after the valve is in, if the job needs it.
After the Valve Is In
If drywall was opened behind the shower, the opening can be closed with a patch, or fitted with a small access panel so the valve is easy to reach next time. If tile work is needed, we go over the restoration options with you before the job starts.
A new valve should give you steady temperature and no drips. If the shower still runs short on hot water or pressure afterwards, the cause is likely elsewhere, such as the water heater or the supply pipes, and our post on low water pressure covers where to look.
Book a Shower Valve Check in Lakeland
The first step is finding out whether you need a cartridge or a full valve. OC's Plumbing & Septic checks the valve, tells you which one it is, and gives you a written quote for shower valve installation before any wall is opened.
We serve Lakeland and nearby towns including Winter Haven, Mulberry, Bartow, Auburndale and Plant City, Monday to Friday, 8am to 4pm. Licensed plumbing contractor, licence CFC035684. Call (863) 393-6473 to book.
Frequently Asked Questions
Not always. If there is a closet, bedroom or hallway wall behind the shower, the valve can often be reached from that side, and the opening is patched in drywall. If the only way in is through the tile, a careful opening is cut around the valve and a larger remodel cover plate can hide it.
A straightforward valve swap takes 3 to 4 hours. Complex thermostatic systems or jobs that need access through tile can take a full day, or two visits so the work can be pressure-tested.
Often, yes. If the brass valve body inside the wall is still in good condition, replacing the cartridge stops most drips and fixes a stiff or loose handle, and it costs much less because nothing behind the wall has to be opened.
The Florida Building Code, Plumbing (Section 412.3) requires shower and tub-shower valves to have a way to limit the maximum setting, adjusted on site so the water does not exceed 120°F. Pressure-balancing and thermostatic valves both meet this when they are set correctly.
The main factors are whether it is a cartridge or a full valve body, the type of valve you choose, how the valve is reached, the pipe material it connects to, and whether wall or tile repair is needed afterwards. The written quote lists each part before work starts.